Installing and Configuring Sysmon on Windows Servers
Alright everyone! In this guide I'm gonna show you how to install and configure Sysmon on a Windows Server.
admin
3/6/2024
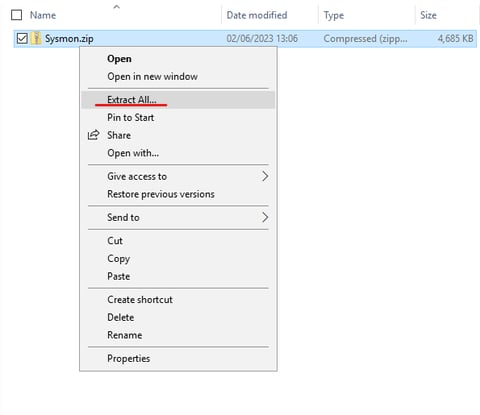
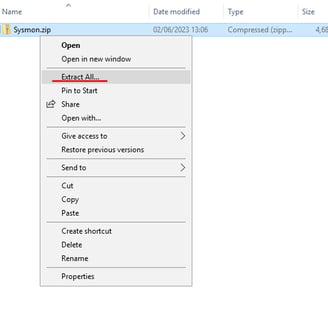
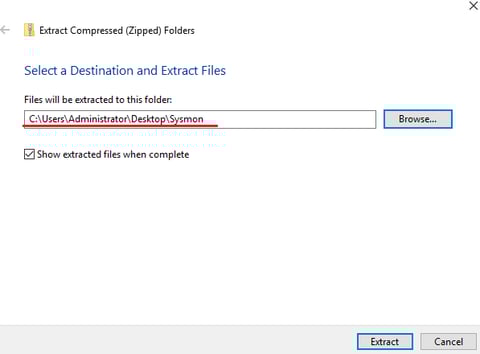
Sysmon is a tool, part of the sysinternals suite that is used to monitor resource usage on servers. This tutorial will show you how to install Sysmon and apply a configuration file for it. The first step of this tutorial is to download Sysmon from the official Microsoft website (Here is a link to the download page: (Sysmon - Sysinternals | Microsoft Learn) Once you have got the zip file installed, extract it to the location that you wish to work in. For the sake of this tutorial, I will extract it to a folder called “Sysmon” desktop. To do this, right-click the zip file and select “Extract all”, when prompted for the destination enter the file location of your choice:
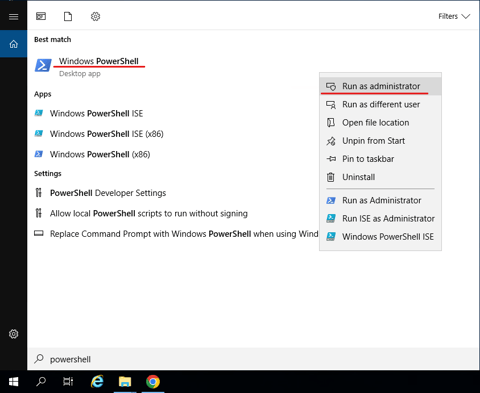
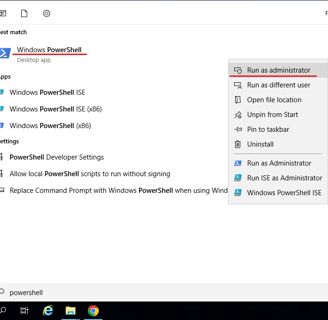
Once the files have finished extracting, open an administrative PowerShell, by searching for it in the Windows search bar (Found in the bottom left-hand side of your screen), right-clicking and selecting “Run as administrator”:
After you have opened your administrative PowerShell, use the cd (change directory) command to change your working directory to the file location of Sysmon. To do this, type: “cd “C:\your\file\location”. As shown above, I extracted the Sysmon files to a folder called “Sysmon” in my desktop. So for me the command would be:

Now that you are in the Symon directory, you will be able to install the app, to do this, run the following command:

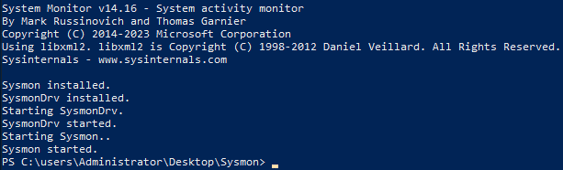
After the command has finished running, the output should look something like the following:
Once this command has finished executing, Sysmon is now installed and you should be able to see the service running if you open the Services application:

However, we aren’t done yet (So don’t close that PowerShell terminal!). Sysmon being installed as is, doesn’t really do much. To truly leverage this tool, we are going to need to use a config file. There are many config files for Sysmon available online, but for this tutorial I am going to use SwiftOnSecurity’s config file from GitHub (GitHub - SwiftOnSecurity/sysmon-config: Sysmon configuration file template with default high-quality event tracing) as it is recommended by multiple cyber security companies. Head to that link and download the files as a zip file.
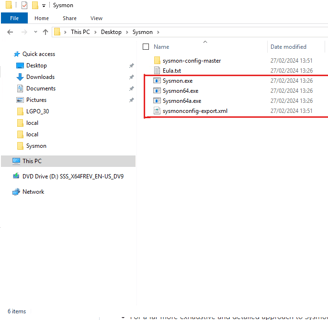
Once the download has finished, extract the zip file (In the same way I showed you earlier) into the same location as your Sysmon (For me this was C:\users\Administrator\Desktop\Sysmon). If a new folder called “sysmon-config-master” is created in the folder open it and move the file “sysmonconfig-export.xml” (ignore “.gitignore” and “README.md”) to the Sysmon file. Your Sysmon folder should look something like this:
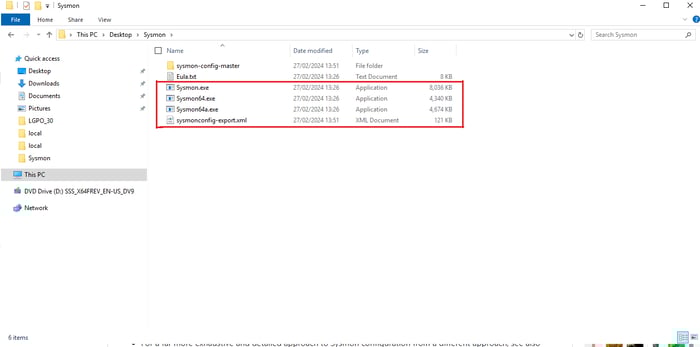
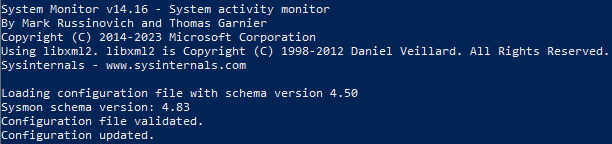
Basically, as long as the 4 highlighted files are there, you should be good to go. Now, head back to your PowerShell terminal and enter the following command:

You should see an output similar to the following:
The final step of this tutorial is to ensure that the config file has been successfully applied. To do this, run the following command:

Assuming the output of this command was a huge list of query names and target objects, the configuration has been applied and the setup is complete. Sysmon can now be used for System Information and Events management including with the use of a SIEM tool. If the output was different then something has gone wrong, feel free to get in touch with me by dropping an email below:
Shoot me a message:
©2023