How to Create Local Windows Server Backup
Hi Everyone, in this tutorial I will be showing you how to create a local backup on a Windows Server using Windows Server Backup.
admin
3/13/2024
The Windows Server Backup tool allows you to create local backups of your server instance. In this guide I will show you how to create a local backup with this tool. Before you begin, you must enable the Windows Server Backup feature. To do this, you can check out the tutorial I created for it here.
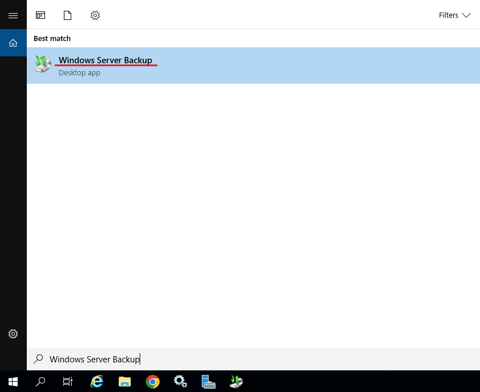
With the feature enabled, the first step is to open the Windows Server Backup tool by searching for it in the Windows search bar, located in the bottom left-hand side of your screen:
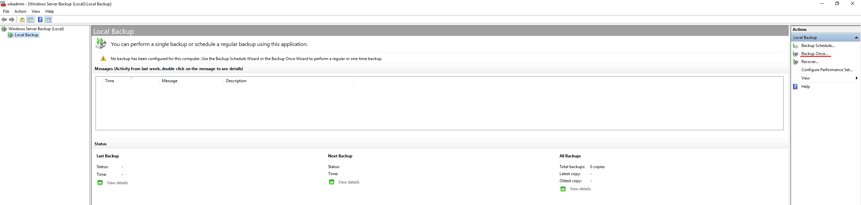
Once you have opened the Server Backup tool, navigate to the "Actions" pane and click "Backup Once...". This will open the Backup Once wizard, where we will be working for the rest of this guide:
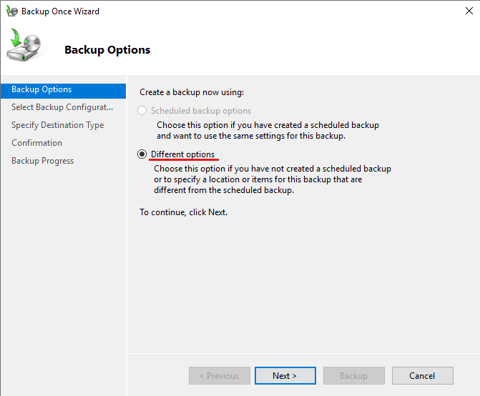
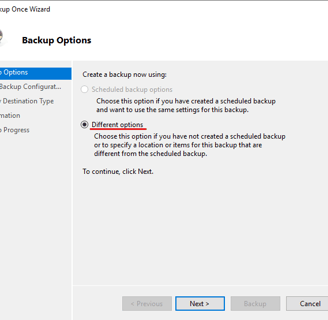
First select "Different options" and then click "Next >":
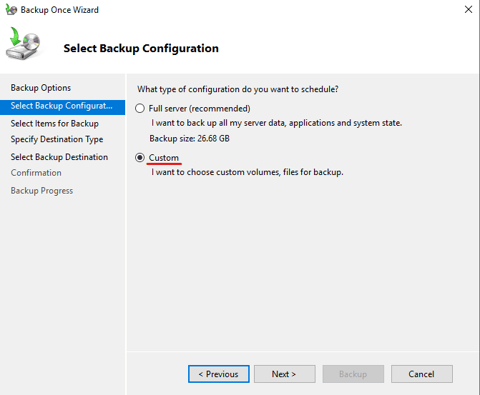
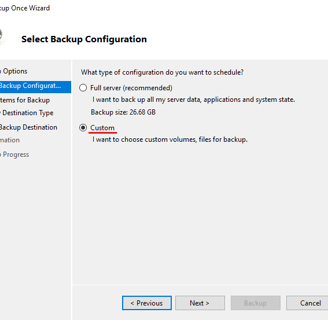
The next step is to choose whether or not you want to back up the full server or just a specific volume / partition. For the sake of this tutorial I will be backing up the C: drive, and thus ticking "Custom":
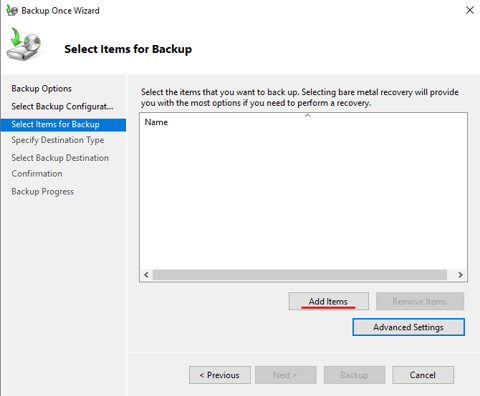
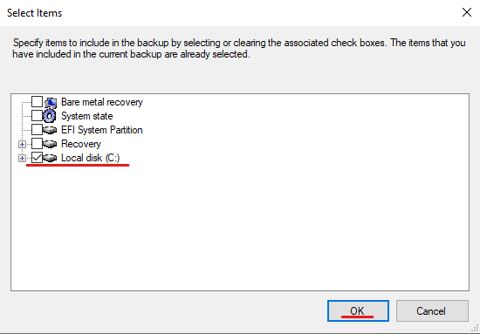
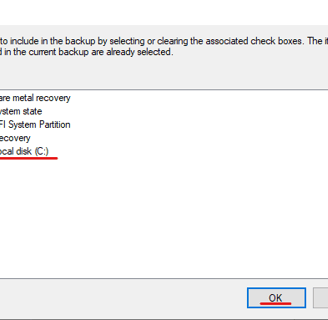
The next step is to choose the items that you wish to back up, in this case the C: drive. After selecting custom, click "Next >" and select "Add Items", from here tick the partitions and drives that you would like to back up. As previously mentioned, I will just be backing up the C: drive, so I tick it and select "OK":

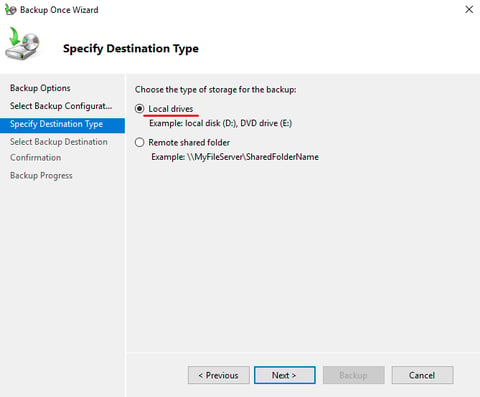
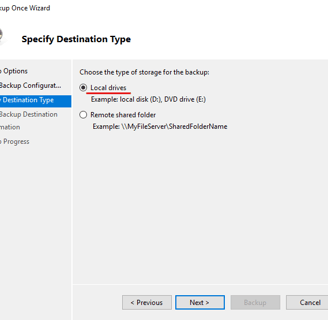
Once you have selected your backup configuration, you will need to choose whether you want to backup to local drives (which we will be doing in this tutorial) or Remote shared folders. I have ticked "Local drives":
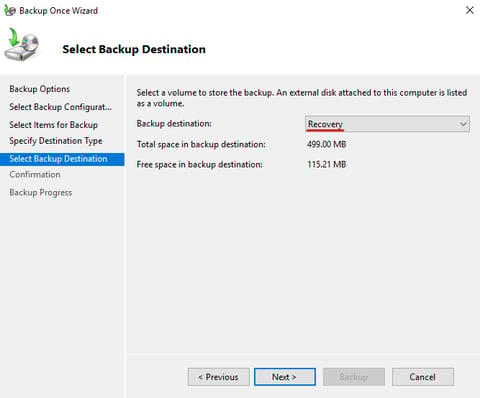
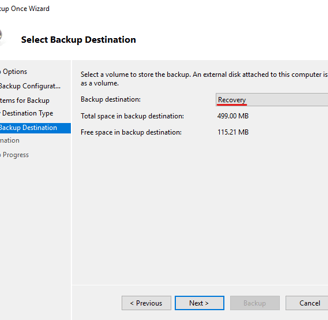
The next step is to select the backup destination, I will be using the recovery partition for this:
Finally, click "Backup" and wait for the process to finish. If you have any questions about this guide or you have gotten stuck, reach out to me below:
Need any assistance?
©2023